Tag Archives: DIY

Brie and Apple Grilled Cheese with Bacon Jam

Seasoned to Taste - Brie and Apple Grilled Cheese with Bacon Jam

Hello, world!

The No. 1 fan of this blog – my mother – recently asked if I’m “still blogging” and “still on Twitter.” So sad when even your biggest fan is questioning your commitment.

Sadly, I’ve fallen off the blogging wagon but am newly committed to getting on again. The following factors have led to my vacation:

1. Selling old house/moving into new house…while 8 months pregnant.

2. HAVING A BABY

3. Computer stolen, with all my food photos on it.

4. Cookbooks still in boxes

5. HAVING A BABY

I’ve just started cooking again – a much different experience nowadays, but a fulfilling one.

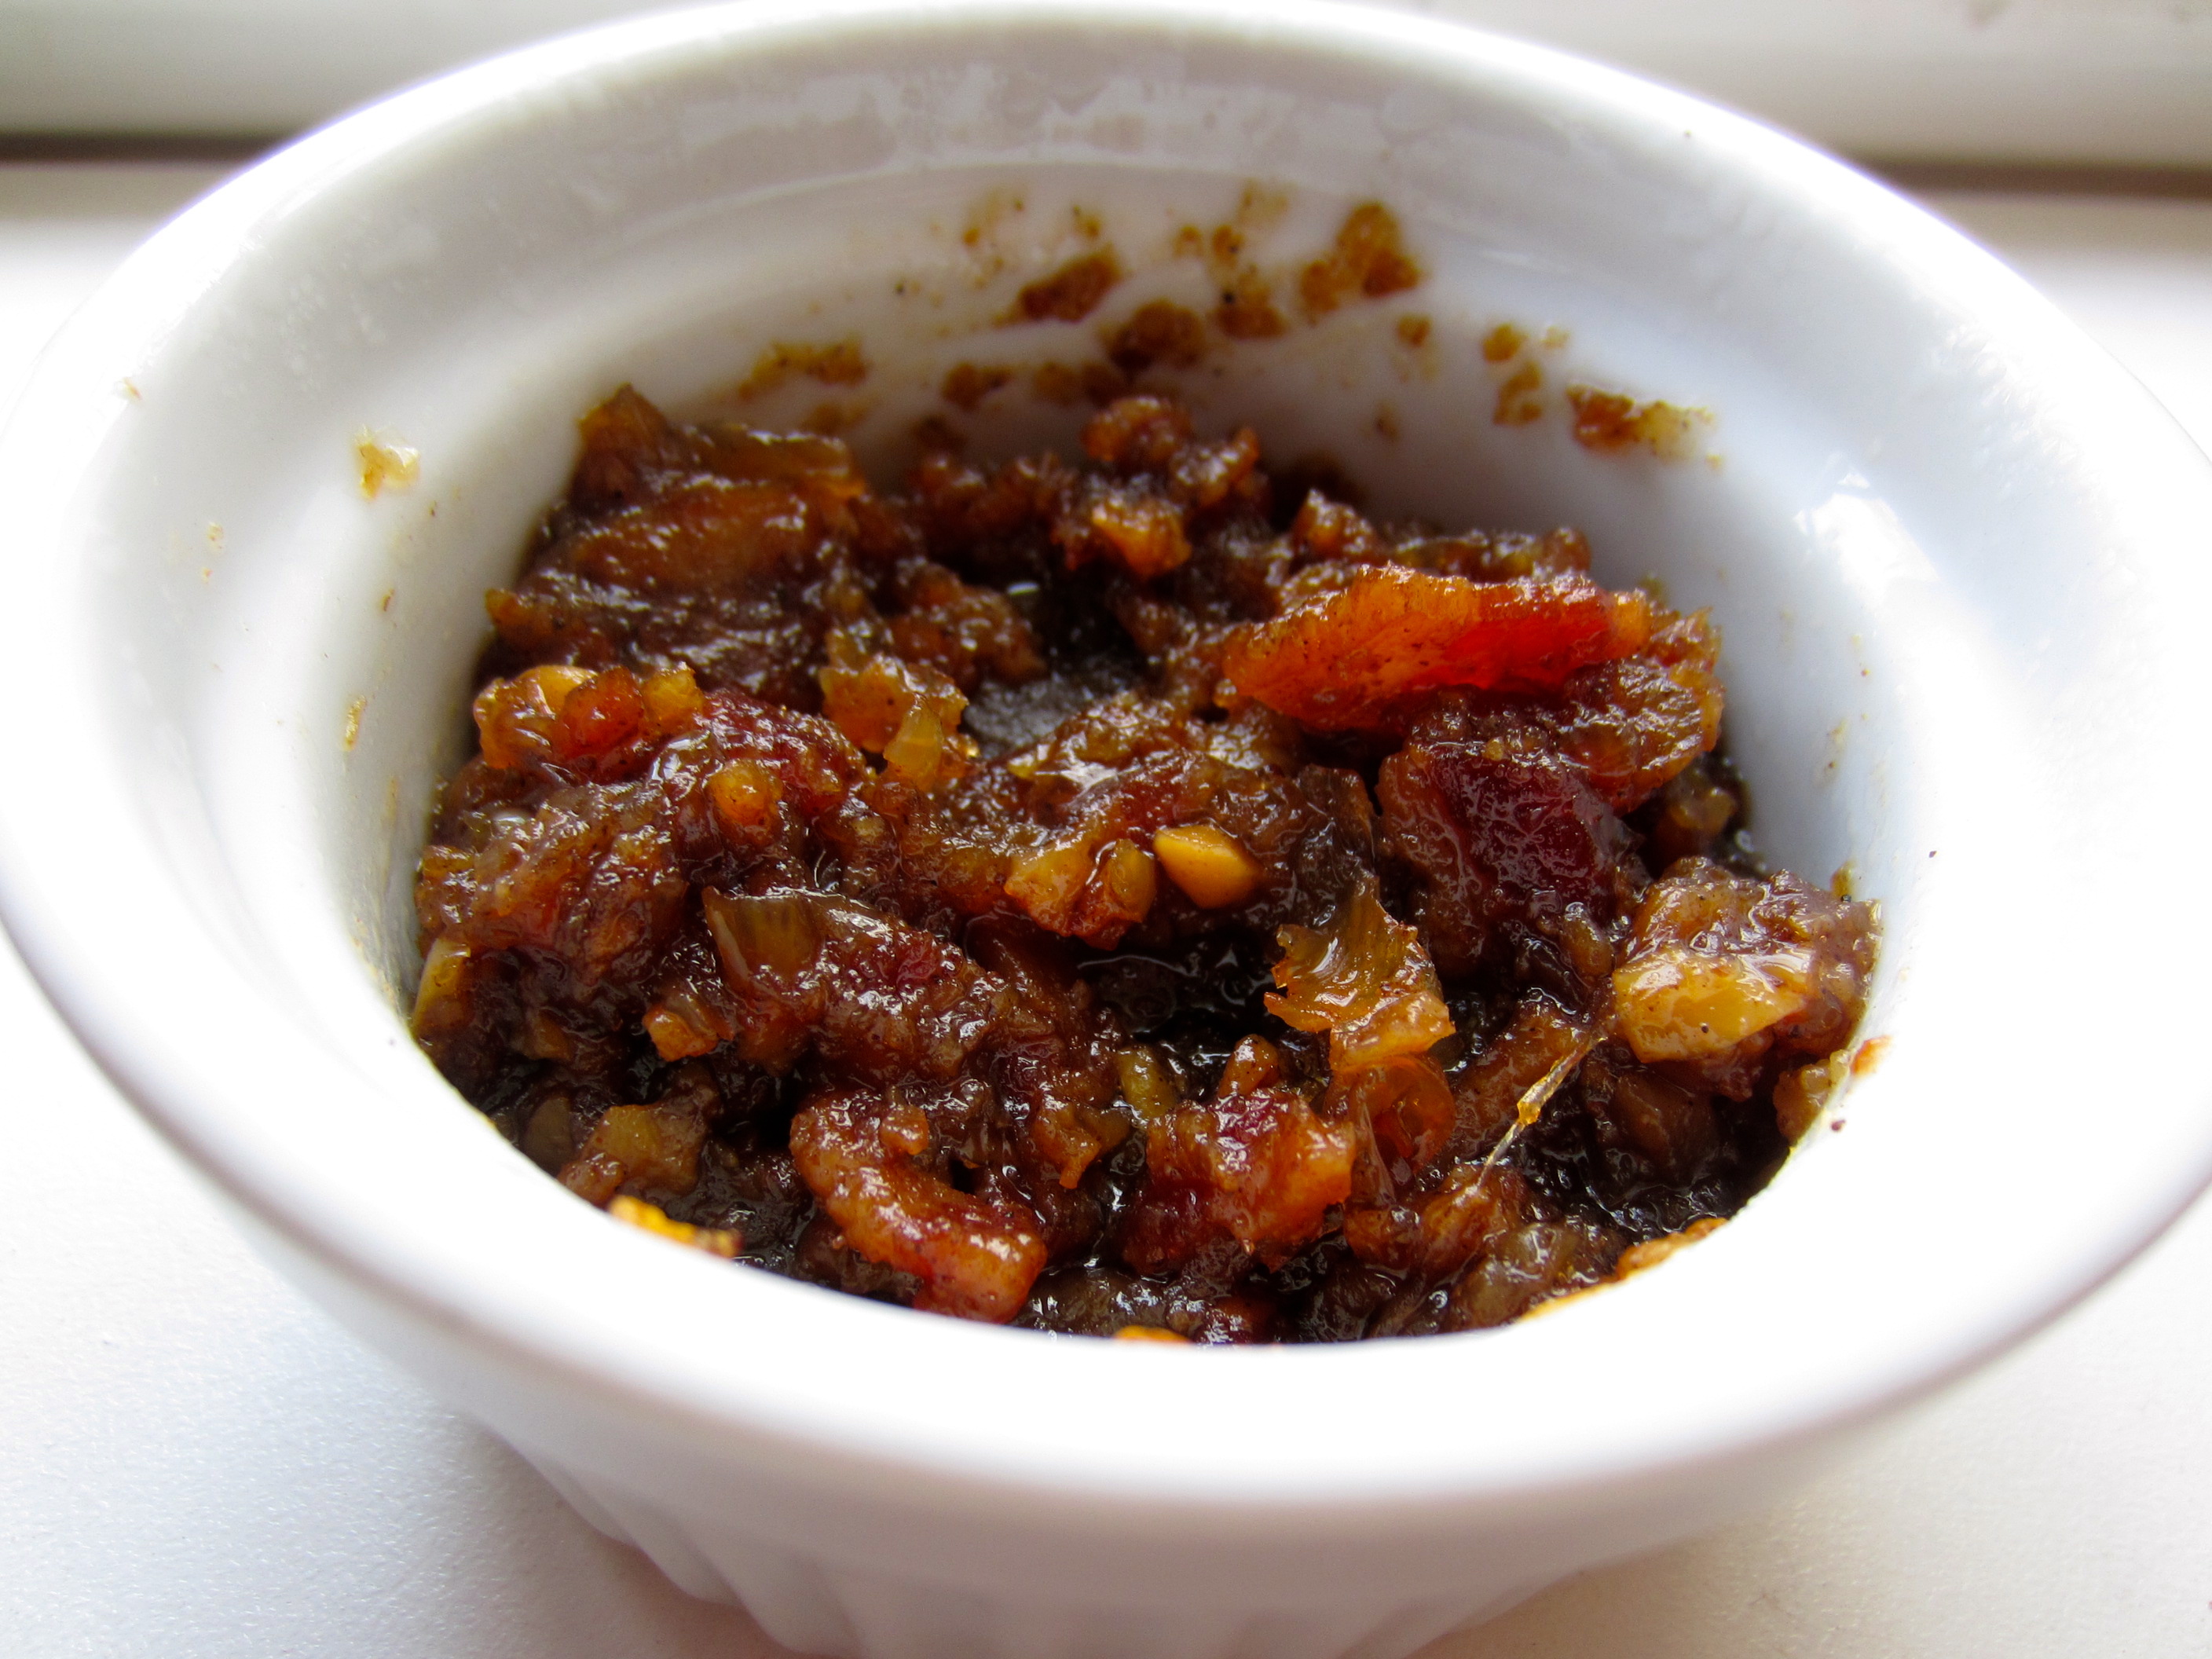
So before everything changed, I made bacon jam. And I smeared it on some bread, topped it with brie and sliced apples and grilled it in butter. It was good. But let me tell you – I threw the rest of the bacon jam out after it sat…and sat…and sat in my fridge unused. I guess I just don’t know what else to do with bacon jam. And it was quite greasy … and I am not shy around grease.

Still, what a cool combination of rich, smoky flavors. I got the recipe from my DIY Cookbook. And since I don’t know where the cookbook is presently, here is where you can find it yourself: Recipe here.

Seasoned to Taste - Bacon Jam

See ya soon, friends! xoxo

Almond Butter with Sea Salt

Seasoned to Taste - Almond Butter with Sea Salt

My mom got me this awesome cookbook from America’s Test Kitchens –  the DIY Cookbook, showing you how to make everything from your own Sriracha to Worcestershire sauce to candied ginger. I will soon be trying the bacon jam recipe, but before that I went for the almond butter, because I had been wanting to try making its sibling, peanut butter.

For something so expensive in the grocery store, the two-ingredient, two-step recipe seemed unbelievable. I guess I just assumed you added oil or sugar or SOMETHING else to get that great spreadable consistency.

On the contrary, all you need is nuts and salt, and the process of grinding the almonds  pulls all those rich oils out and blends the pieces into a smooth butter that sticks to the roof of your mouth. I added more salt than the recipe’s 1 teaspoon, because I liked the flakes of sea salt breaking through the rich butter. Bigger salt crystals always hit your tongue after a few chews, so they don’t overpower.

I have tested this recipe once, but feel it will be emerging again around the holidays – it’s a wonderful hostess gift or present, as it stores well and will impress your friends. I have consumed and given enough away that I already wish I had made a double batch.

Almond Butter with Sea Salt

Ingredients (makes 2 c.):

  • 4 c. almonds, whole
  • sea salt

Heat oven to 375. Spread almonds evenly on baking sheet and roast on middle rack until slightly darkened, 10-12 min. Let cool until just warm, 20 min.

Add almonds to food processor and blend, scraping down sides to help it along, about 7-10 min. total. Puree until the oils release and it becomes the consistency of peanut butter. Add 1 tsp salt and process. Taste for seasonings. Add more salt if you prefer.

I was concerned multiple times that mine was not coming together – you feel like you are grinding and grinding and it’s just a mess of crumbs. So I kept mixing the puree from the bottom to the top to distribute the pieces, and processed until finally, it started to become smooth. And became this:

Seasoned to Taste - Almond Butter with Sea Salt

Transfer to jars with tight lids. The almond butter can be stored in fridge for up to 2 months.

I have been snacking on crisp Gala apples dipped in my almond butter – just how I used to eat peanut butter as a child. It’s wonderful and such a healthy, filling snack for work.

Seasoned to Taste - Almond Butter with Sea Salt

Enjoy, friends! xoxo

DIY T-shirt necklaces

Happy Birthday to Me! It’s true, I am a year older, but to celebrate the art-school kid who will always thrive inside me, I had a very crafty birthday brunch to celebrate. What is it that makes cooking and crafting go hand-in-hand?

I saw this idea on a blog and thought it would be great for a party of some sort: turning old T-shirts into new necklaces! I quickly researched the idea and found a Martha Stewart article to help – it entails cutting your T-shirt into shreds, stretching the pieces until they curl and then looping them into a colorful necklace/scarf. The necklaces are soft and warm and cozy. In the summer, you can get them wet and they’ll keep you cool on hot days. I’ve even seen them for little babies and it was super cute.

Find detailed instructions  here.

Here are Anna and Kristin, modeling their necklaces:

I loved how all my friends/party-goers swapped and shared their fabrics, so everybody had unique and beautiful designs. Natalie even wove a gold chain through hers, which I thought was a nice touch.

Some day, I will become rich making these out of vintage fabric, adding some ribbon or a sparkly brooch and selling them to Anthropologie for $50 a pop.

Beautiful Erica in the TWO scarves she made!

Oh yes, and I made a fabulous brunch spread, featuring mango mimosas, bloody marys, andouille and spring onion frittatas, smoked-salmon blinis with creme fraiche and a three-tiered strawberry “cake.” Stay tuned, friends!

Cheers to the girls! xoxo